

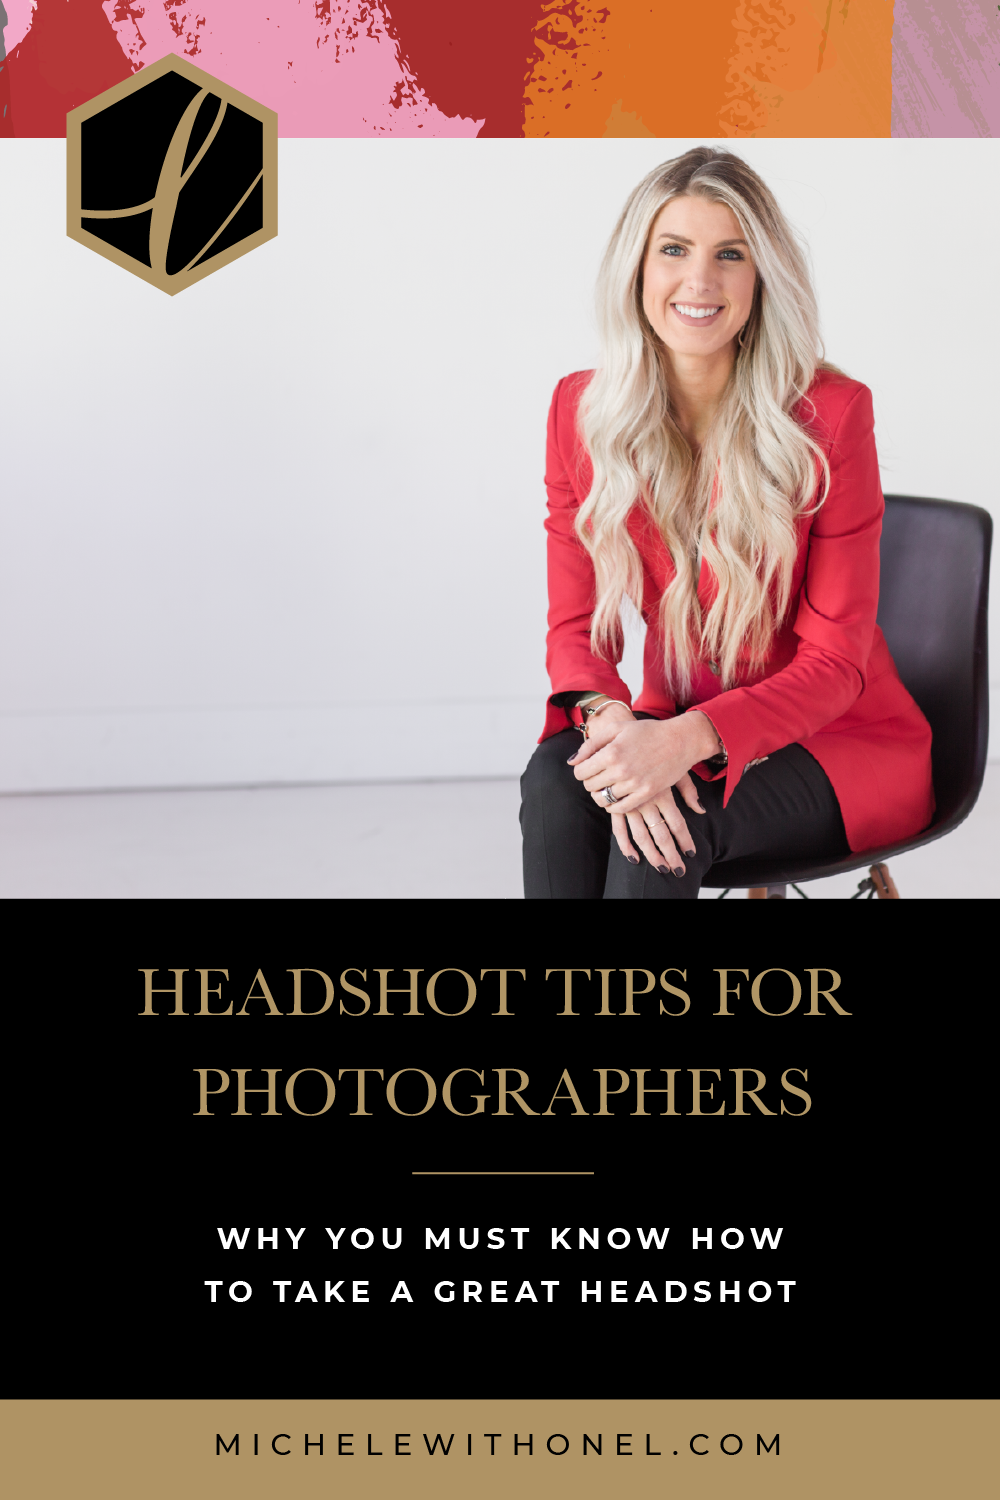
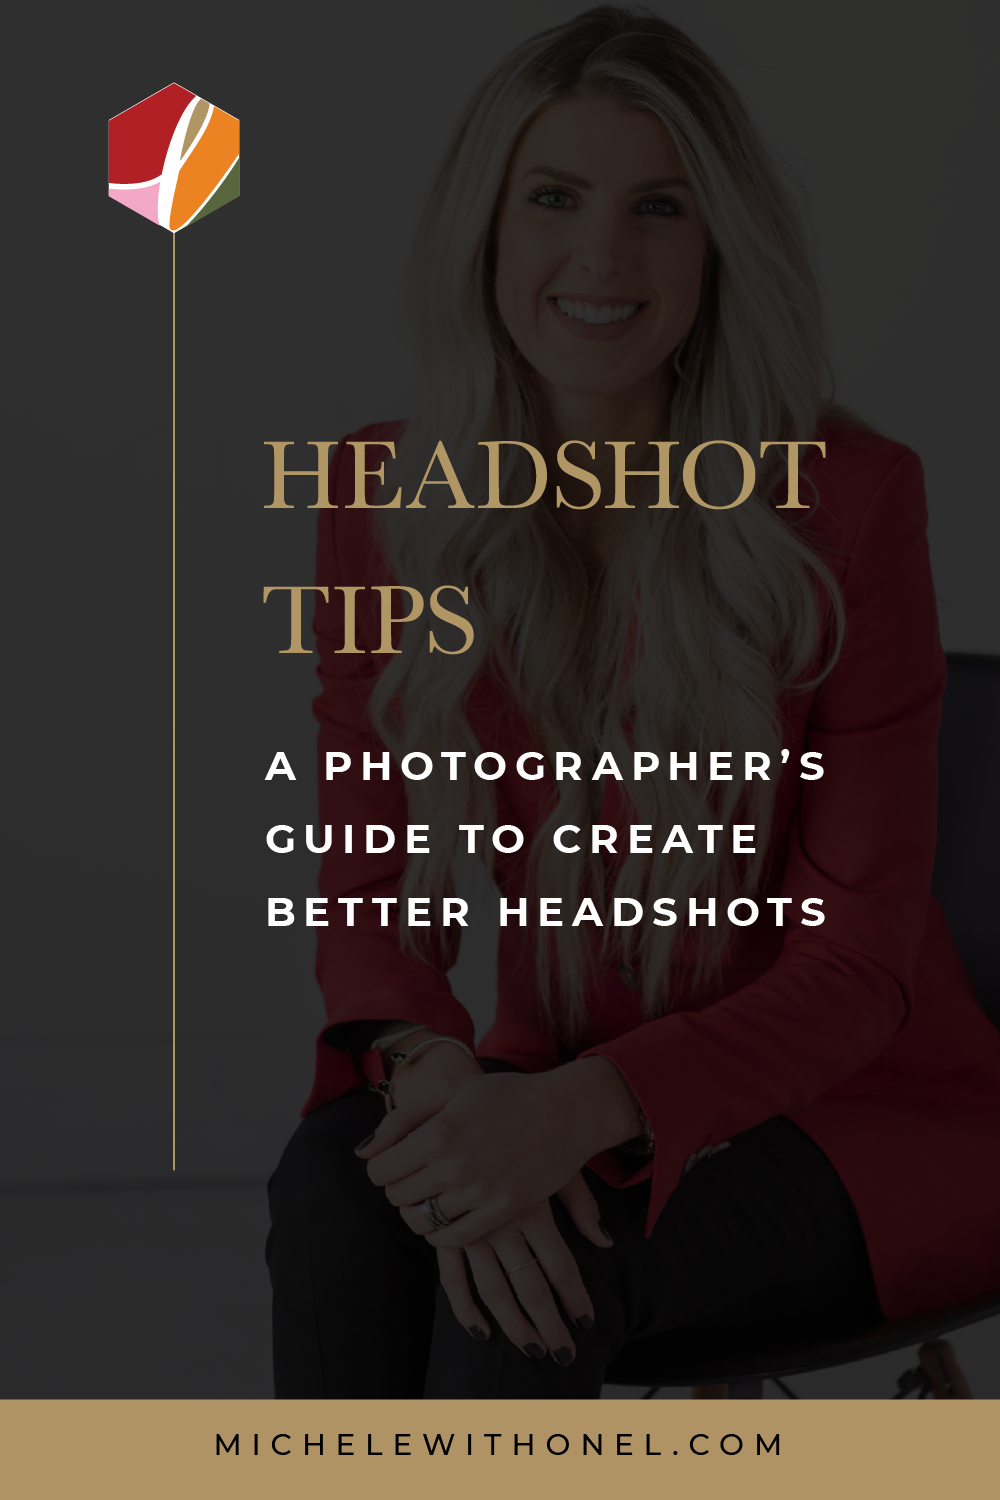
It takes a special skill to create a professional headshot — one that goes beyond knowing how to operate a camera, get the correct exposure, and snap a good portrait. A headshot is a certain type of portrait that tells the story of you and represents your business. That’s one heck of a duo. This type of photography is an art form in and of itself, which is why I am sharing some headshot tips for photographers — so you can develop this valuable skill and add business headshots to your repertoire.
After taking, literally, thousands of headshots — I know how to flatter every face shape. It’s one reason why my clients come back to me again and again. They trust me to make them look (and feel) great in front of the camera.
How I Got Started
You might not know this, but my photography career started out with headshots. I didn’t plan it that way. It just happened…
I was taking theater headshots for my kids’ shows, and the company I worked for was needing headshots as well. I showed up with all sorts of equipment I wasn’t quite sure how to use and somehow muddled through.
My goal was to photograph headshots while I worked toward my ultimate goal: weddings.
Headshots Helped Me
However, as I began to perfect my style, I realized that headshots actually helped me with weddings — and every other kind of photography I did.
I’ve since become a firm believer that every photographer should know how to take a flattering headshot. It’s a skill that will help you become a better photographer, whether you shoot weddings, seniors portraits, family portraits, brand photography, etc.
So, let’s up your headshot game and improve your portfolio!
Headshot Tips for Photographers: Posing
Properly posing your subject is one of the most important skills you can learn.
When I first started taking headshots, I knew one type of flattering pose and I used it on everyone. But the more people I photographed, the more I noticed different types of face shapes and sizes, and I started experimenting with different angles.
After more than ten years, I can almost always tell you which side a person is going to like best, and whether I should be shooting them straight on, from a higher angle, or from a lower angle to achieve the most flattering results.
It’s All in the Angles
I shoot most headshots with three different angles:
- Subject’s feet facing 45 degrees to the right
- Subject’s feet facing 45 degrees to the left
- Subject looking straight on (best for most men)
I also take several shots with the client standing and then sitting on a stool. I will move myself up and down on my own stool as well to capture a variety of angles from there.
I believe in presenting the best poses to the client and letting them choose — which has also helped me learn what people are looking for in their own photos.
Pro Tip: Shoot headshots often, and don’t be afraid to play around. Every face is photogenic — it’s just a matter of finding the right angle.
Headshot Tips for Photographers: Lenses
Another great tip for taking professional headshots is learning how to choose the right lens for the job.
The lens you use for headshots makes a difference. I recommend prime lenses, and I suggest using at least an 85mm (or longer) lens for most face types. The compression of longer lenses make them perfect for portraits because they don’t distort the face or body. This means a more flattering photo for everyone — and life’s too short for unflattering photos!
My Lens Choice
I have found the Canon 85mm 1.2 to be the magic bullet for me. I’ve also used (and love) the Nikon 85mm. If I place my client a few feet from the background, these lenses deliver a sharp subject that pops off a soft, blurred background.
Caveat: It’s important to use the same lens for every headshot session as you’re learning. This will allow you to focus on face type instead of on your equipment.
Pro Tip: Rather than cropping in camera, I find that shooting waist-up photos and then cropping in post-production can give a more slimming result.
Headshot Tips for Photographers: Lighting
The third headshot tip (and maybe the biggest of all three) is to learn to control your lighting.
I’m going to let you in on one of my secrets: off-camera lighting intimidated me when I was just starting out. I now realize that it intimidates other photographers too.
So if you resolve to push through and learn at least one off-camera lighting technique, it will set you apart from your competition, most of whom will never push through the hard parts (and therefore, won’t learn what you’re learning).
Push yourself and start using light to sculpt your subject.
Every time you take a headshot, use the same lighting technique, and you’ll discover what it looks like on different face shapes.
Every Face is Different
I’ve tried all the traditional headshot light setups, but my style has evolved to a more modern flat-lighting setup. I believe this flatters most people more than traditional lighting.
I’ll share more about that in a future blog post. But I will say that it’s important to understand how light and shadow work to better contour and shape a face. This is how you learn to downplay the things your client tells you they feel self-conscious about, or how to highlight their best features.
Remember, what works for one person may not be the most flattering for someone else. Age matters. Face shape matters. Even the purpose of the photo matters, since different poses can convey different emotions and levels of power. It all depends on who you’re photographing and the purpose of the headshot.
Pro Tip: You don’t have to use the fancy brand name lighting gear. I’ve had better results with three Flashpoint lights and a commander than I have with brand-name equipment. The quality of light is the same, and the magic happens when you choose your modifiers.
You don’t have to break the bank either. When I was first starting out, I used two simple white umbrellas with continuous video lights, and they worked just fine.
Headshots Matter
The more you understand how to flatter different face and body types, how to find a subject’s best side and angle, and how light can work to draw attention to or hide different features, you’ll be well on your way to creating the best and most flattering photos of brides, mothers of the bride, grandmas, and all of the different people you photograph in your business!
Do you see the benefit?
And who knows — maybe you’ll come to appreciate the art that goes into creating truly beautiful headshots and decide to offer that service as part of your collections.
Potential Clients
If you decide to offer professional headshots, the clientele pool is endless. There are so many people who need a good headshot — those who run their own businesses, both big and small!
Strong personal branding is essential for every entrepreneur, and that starts with a good headshot.
Did you know many of my personal brand photography clients are actually photographers themselves? If you are looking to update your own headshots, reach out and book your brand photography session today!
I hope you enjoyed these headshot tips for photographers — what do you think? Are you ready to include headshots in your business?
Pin This Post:

March 2, 2022
Headshot Tips for Photographers: Why You Must Know How to Take a Great Headshot

| 10 ways to instantly |
look better in photos
This FREE guide is your key to taking photos that make you look and feel amazing! Fill out the form below to get the 20+ page guide delivered to your inbox. You’ll also receive weekly emails from me with my best business, branding, and photo tips.